Creating your very own paint can be a surprisingly transformative endeavor, inviting you to explore the captivating interplay of colors, textures, and techniques. It’s more than merely mixing pigments; it’s a genuine journey of artistic expression and ingenuity. Whether you’re an aspiring artist, a DIY enthusiast, or simply curious, learning how to make paint can not only enhance your creative toolkit but also deepen your appreciation of the art form itself. Below, we unveil the multifaceted process of paint-making, accompanied by intriguing insights into its components and an exploration of various methods.
1. Understanding Paint: Its Composition
Before diving into the paint-making process, it’s essential to comprehend the fundamental components that constitute paint. Paint typically comprises three primary elements: the pigment, the binder, and the solvent.
- Pigment: This is the essence of color itself. Derived from natural minerals or synthetic sources, pigments dictate the hue and opacity of the paint. From the deep, rich tones of earth-based pigments to the vibrant shades born from modern chemistry, they lay the groundwork for the visual impact of your artwork.
- Binder: Acting as a glue, the binder holds the pigment particles together and adheres them to the surface you are painting on. Common binders include oils, acrylics, and gums, each imparting unique properties to the finished paint, such as glossiness, durability, and drying time.
- Solvent: The solvent, often water or oil, adjusts the paint’s viscosity, allowing for easier application and manipulation. It helps achieve the desired consistency and influences the drying time of the paint.
2. Gathering Materials: Your Paint-Making Kit
As you prepare for your paint-making adventure, assemble the following materials, which will empower you as both creator and innovator:
- Powdered Pigments: Search for high-quality pigments, either natural or synthetic. Explore specialty art stores or online suppliers to find a spectrum of colors.
- Binders: Choose a suitable binder based on the type of paint you wish to create. Acrylic mediums or linseed oil are excellent choices for making various paint types.
- Solvents: Depending on your binder, collect water for acrylics or a compatible oil if you’re making oil paints.
- Mixing Tools: A palette knife, a glass or ceramic palette, and a set of measuring spoons are indispensable for accurate mixing.
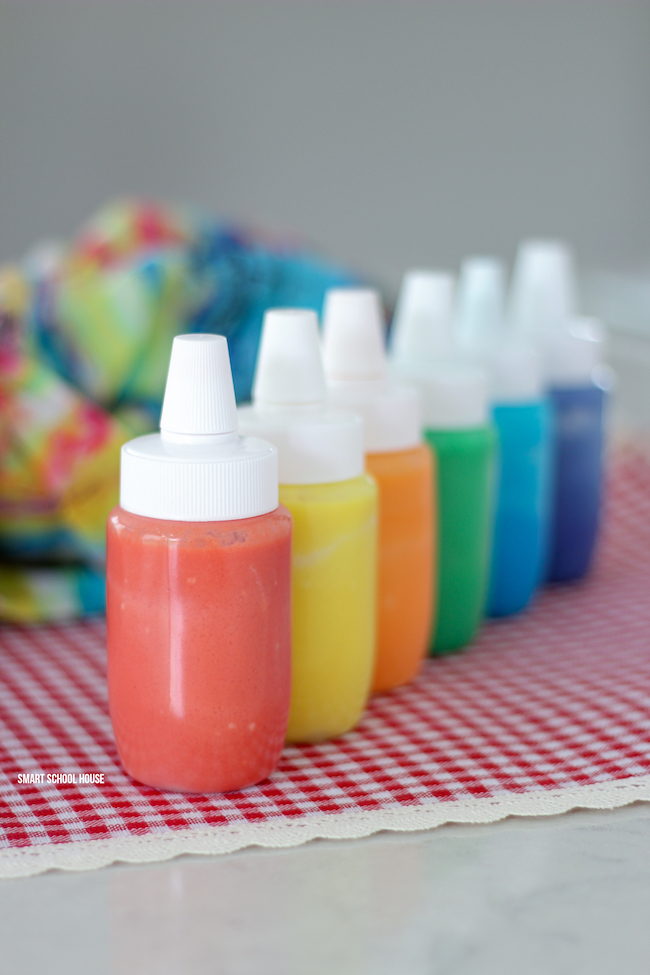
- Containers: Small jars or tubes for storage are necessary to keep your paints fresh and ready for use.
3. The Art of Paint-Making: Step-by-Step
With your materials at hand, you are now poised to embark on the paint-making process. Here’s a detailed and comprehensive guide:
- Prepare Your Pigments: Begin by carefully measuring your desired amount of powdered pigment. Keep in mind that pigments can be incredibly potent in color. A little goes a long way.
- Add the Binder: Gradually sprinkle your binder into the pigment, mixing it with a palette knife. Aim for a consistent paste-like texture. If using acrylic mediums, the consistency should resemble thick cream, while oil binding will yield a more flexible paste.
- Incorporate the Solvent: Slowly add your solvent, whether it’s water or oil, observing how the mixture transforms. Continue mixing until you reach your desired fluidity, ensuring the colors remain vibrant and smooth.
- Mix Thoroughly: This step is crucial. No clumps should remain. Each element must meld harmoniously to create a flawless pigment dispersion. Depending on your binder choice, mixing times may vary.
- Test the Paint: Before committing to a larger batch, test a small amount on your chosen substrate. Observing its finish can reveal layers of depth or shine, offering insights into adjustments you might wish to make.
4. Storing Your Creations: Preservation Techniques
Once you’ve crafted the perfect shade of paint, the next concern is proper storage. To ensure longevity and prevent the degradation of your homemade paint:
- Use Airtight Containers: Store your paint in small, airtight jars or tubes to minimize exposure to air, which can dry out your creation.
- Label Everything: Clearly label containers with the pigment, binder, and date of creation. This will help you remember their properties during future projects.
- Store in a Cool, Dark Place: Avoid direct sunlight and humidity to maintain the integrity of your paint over time.
5. Embrace Experimentation: Color Mixing and Customization
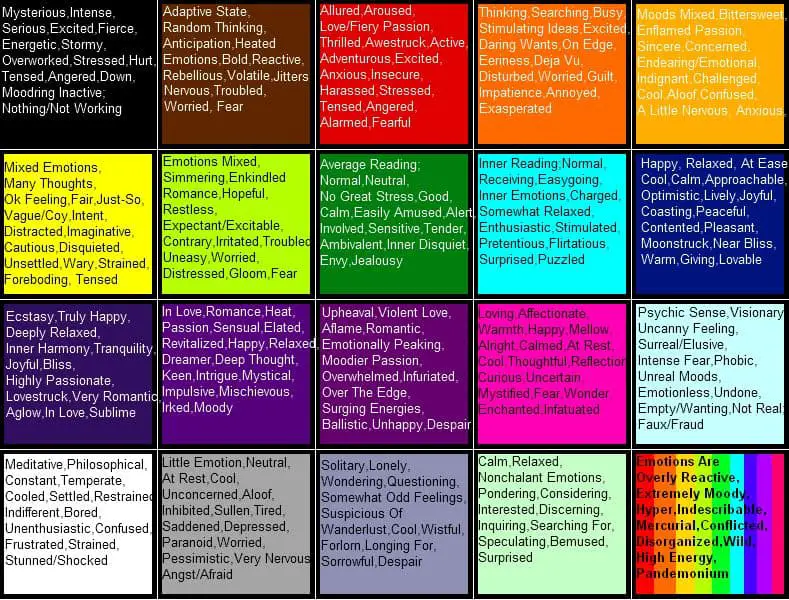
As you deepen your paint-making experience, consider the realm of color mixing. The synergy between different pigments can lead to unique hues and even unexpected tones. Embrace failure: sometimes, the most astonishing discoveries stem from unplanned results. Additionally, explore the effects of layering colors once applied. Observe how they interact upon drying, as this can transform your artwork’s narrative.
6. The Artistic Journey: Reflecting on Your Creation
Crafting your own paint undoubtedly magnifies your connection to the artistic process. As the colors emerge from your chosen ingredients, each stroke becomes a fusion of chemistry and creativity. The act of making paint encapsulates not only the physical transfer of materials but also an essential shift in how one perceives colors and their implications within artistic expression.
In conclusion, the simple act of making paint invites you to rethink the spectrum of creativity. Each color contains stories, and the medium you choose offers an unmistakable voice to your artistic endeavors. By understanding the interplay of pigment, binder, and solvent, you not only arm yourself with broader skills for your art projects but also embark on a quest of self-expression. So gather your materials, invite curiosity into your workspace, and watch your creative horizon broaden with every hue you mix.


Leave a Comment