Have you ever gazed at your bare windows and wondered how to add a touch of elegance without breaking the bank? Making drapery curtains might be the perfect solution! Yet, the task can seem daunting; the thought of selecting fabric, measuring windows, and sewing may pose a challenge for many DIY enthusiasts. Fear not! This guide will take you through the process step-by-step, transforming those daunting tasks into delightful creativity. Let’s embark on this journey of fabric and flair!
1. Understanding the Basics of Drapery Curtains
Drapery curtains differ from regular curtains in their structure and function. While they serve as decorative elements in your home, drapes are typically heavier, lined, and designed to cover a window completely. They can insulate against heat and cold, providing a blank canvas for you to manifest your personal style.
2. Selecting the Right Fabric
The selection of fabric is pivotal in crafting the perfect drapery curtains. Consider factors such as texture, weight, and opacity. Fabrics like silk or velvet lend a luxurious atmosphere, while cotton or polyester may offer a more casual appeal. Moreover, understanding the drape (the way fabric falls) and how it will respond within your space is essential. Test swatches by holding them against the window; let them sway in natural light and observe how they behave.
3. Measuring Your Windows
Before you sashay into the world of sewing, accurate measurements are imperative. Grab your trusty measuring tape and start by measuring the width of your window. Add extra inches for fullness, generally between 1.5 to 3 times the window width. Next, measure the height from the top of the window frame to the desired length, which could range from just below the sill to floor length. Don’t forget to include additional length for hems and headers!
4. Preparing Your Materials
After selecting the fabric, upgrade your workspace with the necessary supplies: a sewing machine, thread that matches your fabric, scissors, pins, a measuring tape, and possibly a sturdy iron. Before diving into construction, pre-wash the fabric to prevent any potential shrinking post-production, and make sure to press the fabric for a smoother sewing experience.
5. Cutting the Fabric
Once your fabric is ready, lay it flat on a clean, spacious surface. Use a rotary cutter or sharp scissors to cut your panels according to the measurements taken earlier. Pay attention to the grain direction; cutting against it can lead to warping. It’s wise to double-check your measurements before making cuts to avoid any fabric wastage.
6. Sewing the Drapery Panels
Now for the fun part—sewing! Start by sewing the side hems, folding the edges over twice (about half an inch each time) and securing with pins. Use a straight stitch on the sewing machine to keep everything in place. Next, move to the bottom hem, which should be slightly wider, usually around 3 to 4 inches. A blind hem stitch can offer a professional finish. Finally, add weight to the corners of the curtains to help them drape elegantly.
7. Creating the Top Header
The top header is crucial in determining how your drapery will hang. You can choose a rod pocket, grommets, or pleated header styles. For a rod pocket, fold down a portion of the fabric at the top and stitch to create a channel for the curtain rod. For grommets, install eyelets and thread your rod through them for a modern look. Each option adds a different character to your drapery.
8. Adding Lining (Optional)
Lining your curtains offers a plethora of benefits, including energy efficiency, privacy, and improved drape. If you choose to line your drapery, use the same measurements for your lining fabric. Attach it to the main fabric at the top header and sides, ensuring the seams align perfectly. This extra layer can dramatically elevate the overall aesthetic of your curtains.
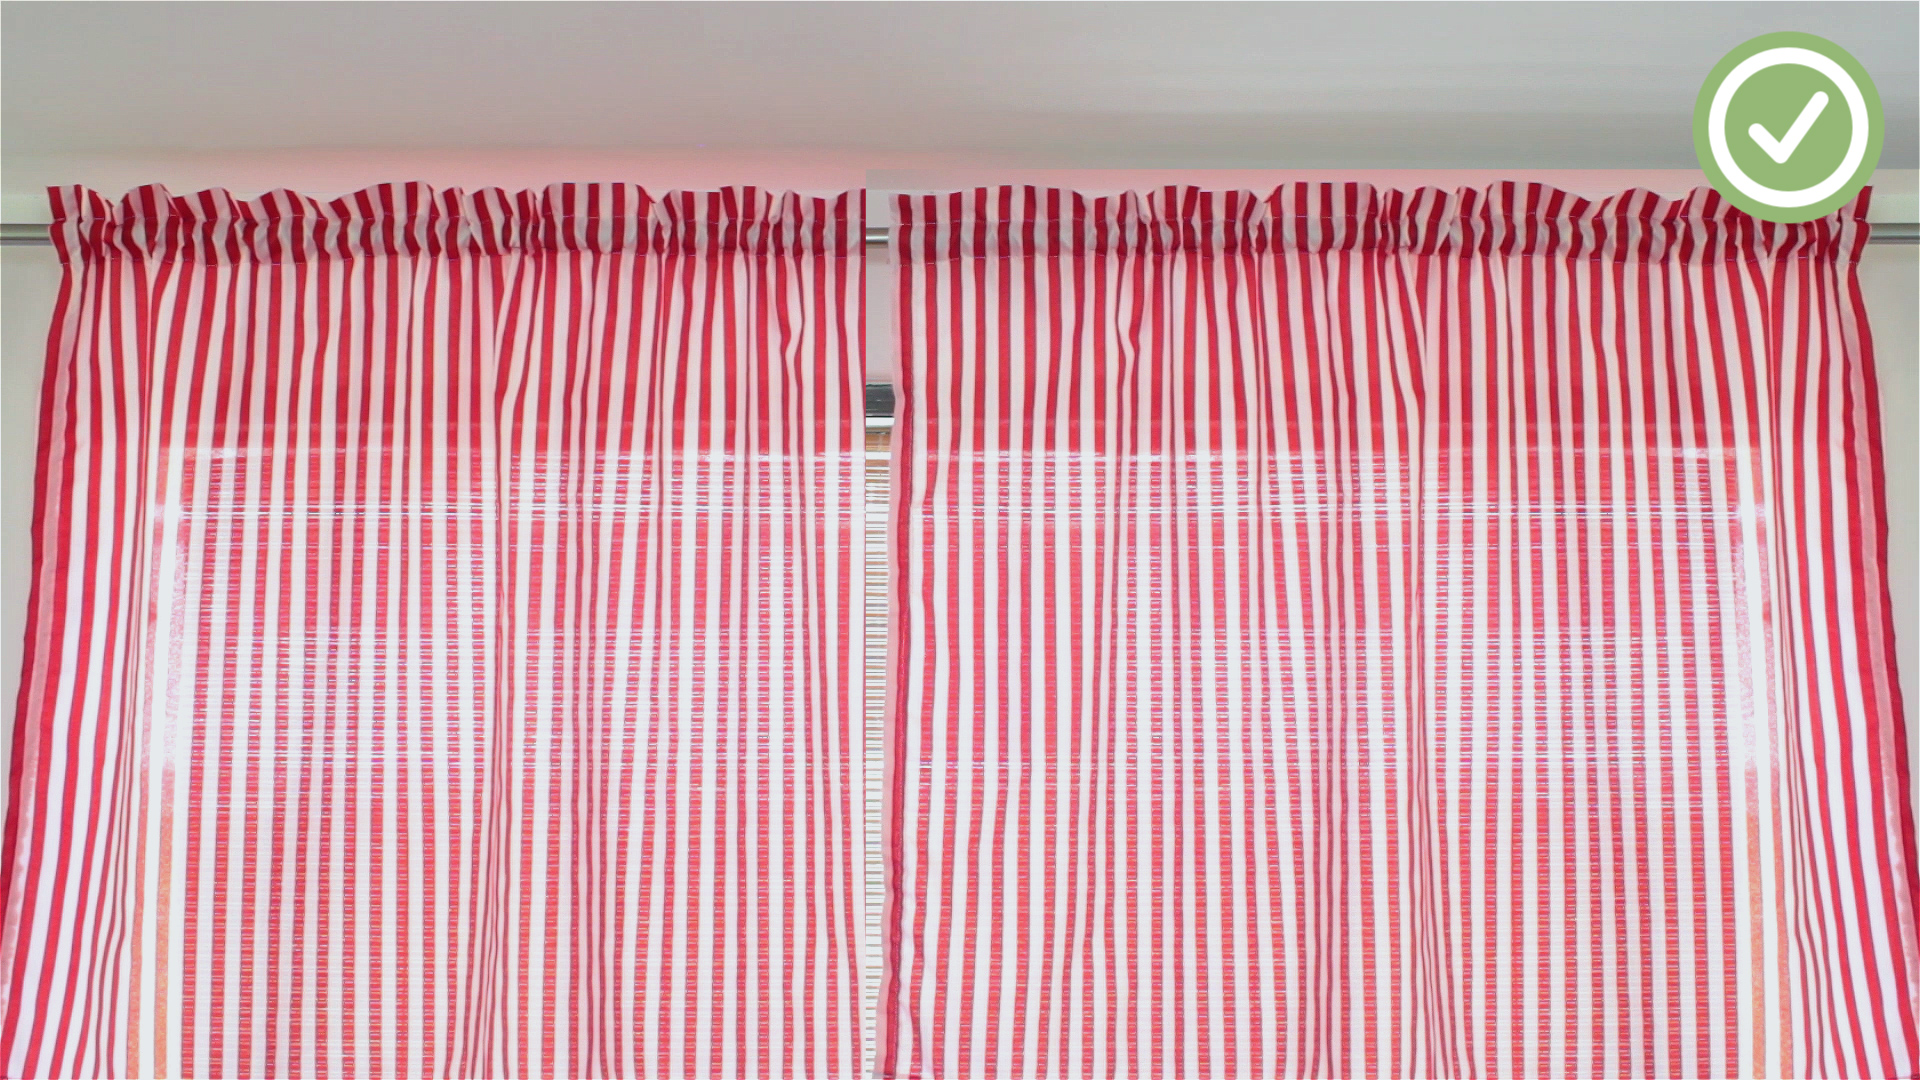
9. Hanging the Drapery Curtains
With every panel sewn to perfection, it’s time to hang your curtains! Use a sturdy ladder for high windows and ensure the rods are installed at an appropriate height, ideally a few inches above the window frame for an illusion of larger windows. Slide your fully assembled panels onto the rod, adjusting for an even appearance.
10. Final Touches and Adjustments
Once hung, step back and admire your handiwork! You may want to steam or iron any wrinkles or creases. Consider tying back the curtains with decorative tiebacks for a different aesthetic or letting them cascade freely for a more relaxed vibe. Don’t forget to tweak the length if needed; the perfect drape can make all the difference!
In closing, crafting your drapery curtains is not only a profound creative endeavor but also a satisfying project that adds individuality to your space. While challenges may arise, the accomplishment of completing such a personalized task is immeasurable. So, unleash your creativity, drapery enthusiast, and transform your living area into a sanctuary of style and comfort!


Leave a Comment