When faced with the exigent need to protect a vulnerable roof from the vagaries of inclement weather, the procedure known as tarping a roof emerges as a practical, if often underappreciated, solution. Instinctively, homeowners recognize the urgency of preserving their dwelling from water infiltration, which can swiftly exacerbate structural damage and escalate repair costs. This contemplation elicits a deeper fascination with the art of tarping—a task that not only serves an immediate purpose but also beckons an understanding of the intricacies involved in skilled home maintenance.
With this guide, we shall delve into a comprehensive methodology for effectively tarping a roof, exploring the necessary tools, techniques, and safety measures involved in this essential endeavor.
1. Assessing the Situation
Before embarking on the tarping process, it is vital to evaluate the scenario at hand meticulously. Take stock of the roof’s condition and the extent of any damage. Look for:
- Visible leaks or pooling water
- Damaged shingles or tiles
- Debris accumulation that could be obstructing drainage
Understanding these indicators will inform your approach to both tarping and necessary repairs. Additionally, consider the weather forecast; tarping should ideally precede any impending storms or heavy rainfall.
2. Gathering Essential Materials
Preparation is paramount. Equip yourself with these essential tools to ensure a successful tarping operation:
- Tarps: Opt for heavy-duty polyethylene tarps, preferably with reinforced edges and grommets for added durability.
- Ropes or Tarps Straps: Utilize strong, weather-resistant cordage to anchor the tarp securely.
- Weights or Clips: When necessary, these items can help stabilize the tarps against strong winds.
- Ladder: A sturdy ladder is necessary for accessing the roof safely.
- Safety Gear: Always include a hard hat, gloves, and slip-resistant footwear to minimize the risk of accidents.
Having the right tools at your disposal sets the stage for efficiency and safety throughout the process.
3. Setting Up Safety Precautions
Safety cannot be overstated when it comes to roofing tasks. The elevation and the potential for slips make it imperative to adhere to safety guidelines:
- Always work with a partner when tarping. Having someone on the ground can provide assistance and alert you to potential hazards.
- Ensure your ladder is stable and extends at least three feet above the roof edge for added security.
- Wear a harness if you need to access portions of the roof that are particularly steep or high.
Emphasizing safety will not only protect you from injuries but will also contribute to an efficient work process.
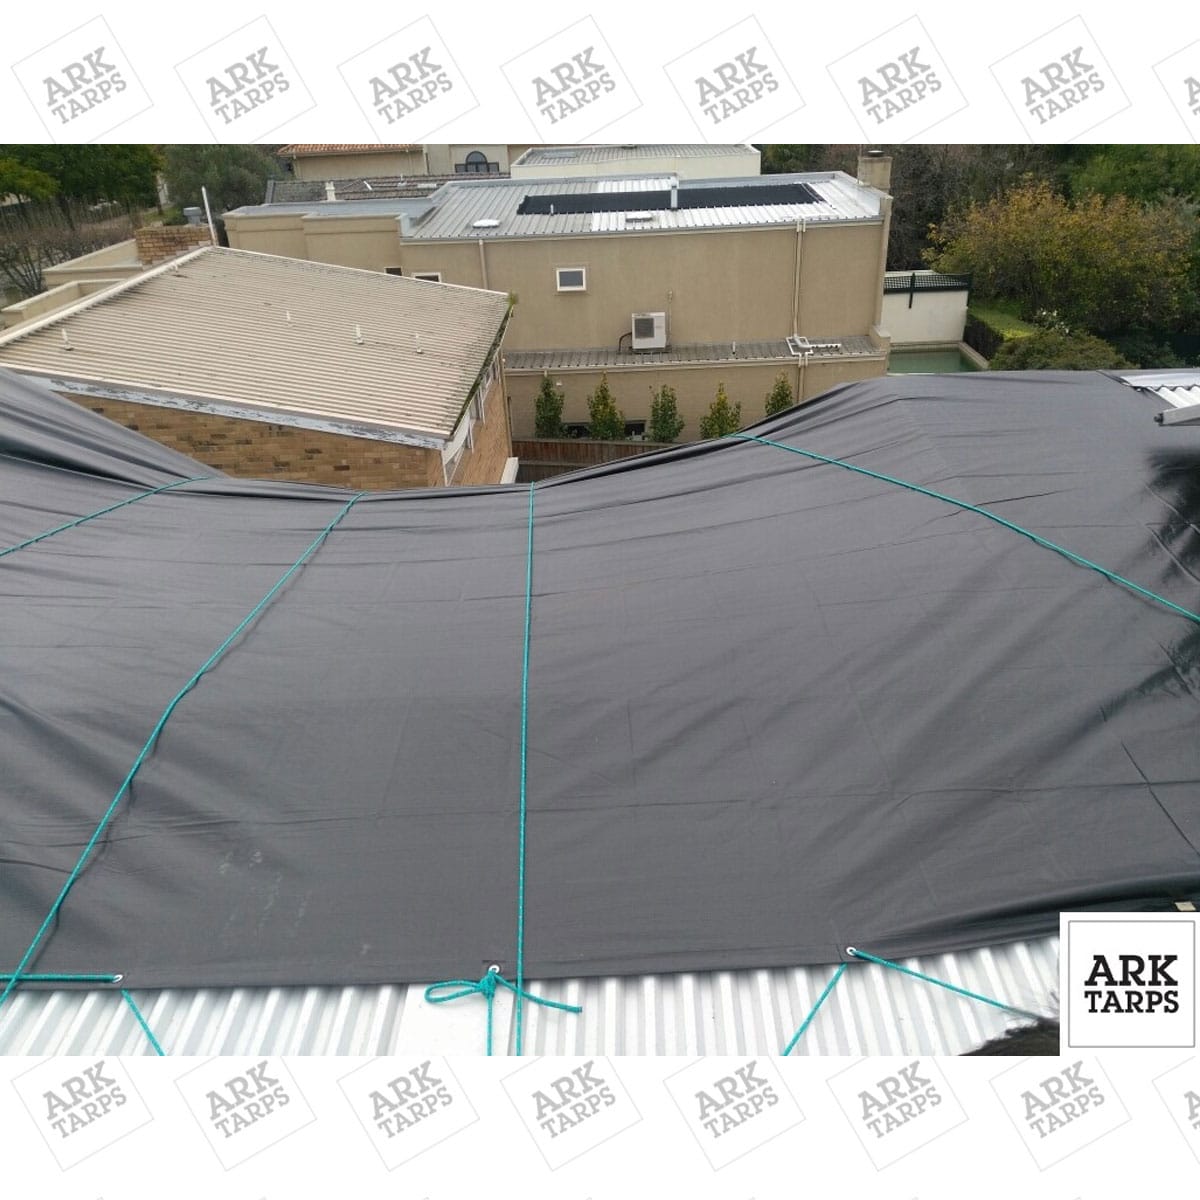
4. Tarp Selection and Orientation
The choice of tarp and its placement are critical components of this task. When selecting a tarp, ensure it is appropriately sized to cover the affected areas while extending at least a few feet beyond the edges of the roof.
As you prepare to lay the tarp, consider:
- Orientation: Position the tarp so that its grommets face upward; this allows for efficient drainage while minimizing water pooling.
- Overlap: If multiple tarps are necessary, overlap them by at least 12 to 18 inches to provide comprehensive coverage.
Strategically arranging your tarps enhances their effectiveness and protects your home’s structural integrity.
5. Securing the Tarp
Once the tarp is positioned, attention must be directed towards securing it in place:
Start by affixing the tarp at the highest point, which allows gravity to facilitate prompt water runoff. Use the following methods:
- Grommet Anchoring: Thread rope through each grommet and anchor it to solid structures such as roof rafters or trees—avoiding any potential damage to the roof itself.
- Weighting: If wind poses a risk, attach weights or clips along the edges of the tarp to prevent it from lifting.
Proper securing techniques will fortify the tarp against wind and rain, preserving its functionality.
6. Monitoring and Maintenance
After successfully tarping the roof, ongoing vigilance is essential. Conduct regular inspections to ensure the tarp remains secure, particularly after heavy winds or storms. Look for:
- Signs of water pooling on top of the tarp
- Any deformations or tears that may have developed
Taking prompt action can mitigate the need for extensive repairs down the line.
7. Planning for Permanent Repairs
While tarping serves as an invaluable temporary cover, it is only a stopgap measure. Therefore, develop a strategy for long-term repairs. Consult professional roofers to assess the damage adequately and plan for permanent fixes, considering factors like roofing material, budget, and structural integrity.
In the grand tapestry of homeownership, tarping a roof encapsulates more than mere practicality; it embodies our innate desire to safeguard our sanctuaries against the tumult of nature. The art of tarping offers a momentary reprieve, allowing the homeowner to confront larger structural issues with foresight and strategic planning. By following the steps outlined, both the practicalities and philosophies behind tarping come to life in a meaningful manner, ensuring homes remain resilient against the elements.


Leave a Comment