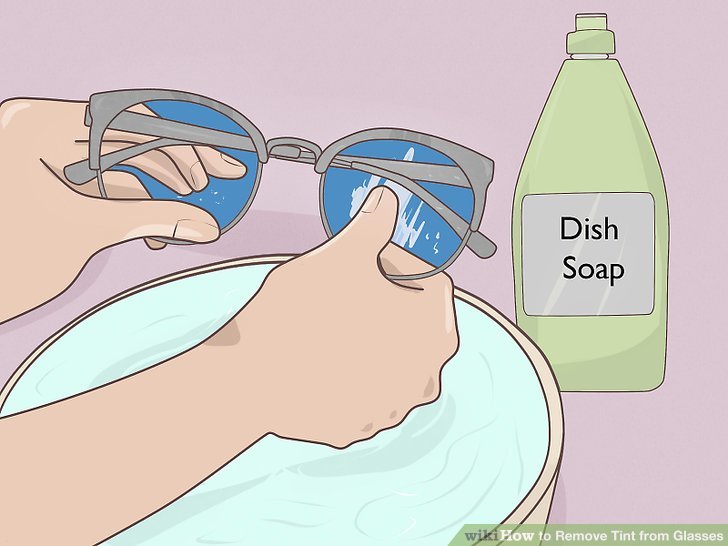
The world of tinted windows can be likened to a mysterious veil that offers privacy and protection while shrouding our view of the world outside. But, like a fine painting that demands restoration, the allure of tint may fade over time, necessitating its removal. Whether it has bubbled, scratched, or simply failed to match your evolving aesthetic, removing window tint can breathe new life into your vehicle or home. Let’s explore the intricacies of this endeavor, providing a comprehensive guide to help you navigate this transformation.
1. Understanding the Purpose of Tint Removal
The initial decision to remove window tint often stems from a variety of motivations. Perhaps the tinting has aged like an unsightly fruit, dulled by the passage of time. Maybe you’ve acquired a new vehicle, or your aesthetic preferences have shifted. Whatever the reason, recognizing your objective will help you approach the task with diligence and enthusiasm.
2. Gather Your Tools: The Right Arsenal
Before embarking on this journey, ensure you have the proper tools at your disposal. The right equipment will make all the difference, transforming a daunting task into a seamless operation. You will need:
- Heat gun or hairdryer
- Plastic razor blades or a utility knife
- Ammonia or a commercial window film removal solution
- Spray bottle
- Soft cloths or paper towels
- Gloves for protection
Each tool plays a vital role, much like instruments in a symphony, working in harmony to achieve your ultimate goal: crystal-clear windows.
3. Preparing the Workspace: Create an Ideal Environment
Just as an artist must create the right ambiance before painting a masterpiece, so too must you prepare your workspace. Begin by parking your vehicle in a shaded area to prevent the sun from drying your adhesive too quickly. For indoor spaces, choose a room with adequate ventilation, as certain chemicals can be quite potent and may overwhelm the senses.
4. The Dance of Heat: Applying Warmth to the Tint
Heat is your ally in this endeavor, a gentle breeze that softens the bonds of adhesive. Using your heat gun or hairdryer, apply warmth to the corners of the tinted film. This process will initiate the delicate dance of loosening the adhesive beneath the film. Maintain a safe distance to avoid scorching the glass, moving in small, circular motions to evenly distribute the heat.
5. Peeling Away the Film: A Gradual Unveiling
Once the edges of the film are warm enough, carefully lift them using your plastic razor blade. This delicate motion will reveal the underbelly of the tint—an often stubborn residue that still clings to the glass. With patience, continue to peel the film, employing heat as necessary to facilitate the process. Think of it as peeling an onion, layer by layer, until the core is exposed.
6. The Adhesive Adieu: Removing Residue
With the film successfully removed, you may find remnants of adhesive on the glass, akin to a ghost of its former self. To banish this residue, spray your ammonia solution or commercial remover generously on the affected areas. Allow it to linger for several minutes—much like a fine wine aerating—before using a cloth to scrub away the stubborn remnants. Rinse thoroughly with water afterward, leaving no trace of the past behind.
7. A Final Touch: Cleaning the Glass
With the tint and adhesive gone, it’s time to polish the canvas. Using a glass cleaner, wipe down the surface with gentle strokes, revealing the gleam of clarity like a sunrise breaking through the horizon. This final ceremony is essential, as it ceremoniously completes the transformation, preparing your windows for the world outside.
8. Safety Precautions: Protecting Yourself
As with any intricate art form, it’s important to take precautionary measures to ensure your safety throughout the process. Wear gloves to shield your skin from chemicals, and consider protective eyewear to guard against accidental splashes. Proper ventilation is key, particularly when working with ammonia, as inhaling fumes can be detrimental.
9. Seeking Professional Help: When to Call in the Experts
At times, the allure of a DIY project may be overshadowed by complexity. If the tint is particularly stubborn, or if you’re hesitant to tackle the task alone, calling in a professional service might be the wisest choice. Skilled technicians possess the experience and tools necessary to facilitate a clean, efficient removal without the stress of potential mishaps.
10. Final Thoughts: The Transcendence of Clarity
Removing window tint is akin to shedding an old skin—an opportunity for renewal and rejuvenation. While the journey may involve a mix of patience and practicality, the payoff is substantial. Whether you find yourself gazing through crystal-clear glass or admiring the sleek design of a newly unadorned window, the restored clarity opens a world of possibilities. Allow this fresh perspective to inspire a sense of freedom, inviting the beauty of the outside world to envelop your space once more.









Leave a Comment