Have you ever found yourself in the amazing realm of nail art, only to realize that the builder gel you so carefully applied is now a headache to remove? What if I told you that this seemingly simple task can sometimes turn into an unexpected challenge for even the most seasoned nail enthusiasts? As we embark on the journey of exploring how to effectively and safely remove builder gel, let’s uncover the processes, tools, and precautions you need to consider to tackle this aesthetic faux pas with finesse.
Builder gel—designed for durability and strength—caters to various nail shapes and styles, creating eye-catching art. Yet, its removal can be cumbersome if you’re not equipped with the right knowledge and supplies. Before diving into the intricacies of the removal process, let’s review what builder gel is and why its removal is crucial for nail health.
Understanding Builder Gel
Builder gel is a type of acrylic or gel product used to extend and strengthen natural nails. Known for its resilience, it can withstand daily activities and resist chipping better than regular nail polish. However, this very robust nature can present challenges when it comes time for removal. Its extended wear, combined with growth, can lead to unsightly regrowth lines, prompting the need to take action.
Essential Supplies for Removal
Before you begin, ensure you have the following supplies gathered:
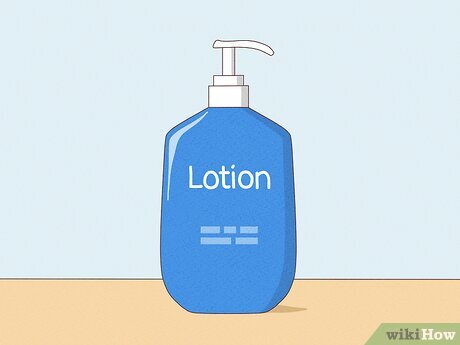
- Acetone: A potent solvent that effectively breaks down builder gel.
- Foil wraps: These help in creating a controlled environment for the acetone to work.
- Cotton balls or pads: These will hold the acetone against your nails.
- Nail file: A coarse file will help with the initial buffing of the gel.
- Cuticle oil: Essential for moisturizing your nails and surrounding skin afterward.
Preparation: Setting the Stage for Success
Prior to embarking on your gel removal mission, prepare your environment. Find a well-ventilated space to work. Gathering your materials will keep you organized and reduce the likelihood of mishaps.
Begin by setting down a protective surface—an old towel or a disposable mat works wonders. This step ensures you won’t damage your furniture and allows for easy cleanup.
Step-by-Step Removal Process
The actual removal process can be broken down into several meticulous steps designed to minimize damage to your natural nails:
1. Buff the Surface
Using a coarse nail file, gently buff the top layer of the builder gel. This will remove the shine and allow the acetone to penetrate more effectively. Exercise caution—strive to avoid filing down to your natural nail, which can lead to weakening.
2. Apply Acetone
Soak a cotton ball or pad in acetone, ensuring it’s saturated but not dripping. Place the soaked cotton directly onto the buffed nail surface.
3. Wrap It Up
Use a piece of foil to wrap the tip of your finger securely around the cotton ball. This creates a sealed environment that encourages the acetone to work its magic. Repeat the same process for each nail.
4. Time to Relax
Once you’ve wrapped all your nails, set a timer for about 10 to 15 minutes. This period allows the acetone ample time to soften the builder gel. During this time, consider indulging in a little self-care with a calming activity—perhaps reading or listening to music.
5. Check Your Progress
After the allotted time has passed, carefully unwrap one finger. If the builder gel hasn’t lifted easily, rewrap the finger and allow additional time. The goal is to avoid excessive scrubbing, as this could cause nail damage.
6. Gently Remove the Gel
Once you notice the gel has softened, use an orange wood stick or a cuticle pusher to gently coax the gel off your nail. Again, be gentle—do not force it. The gel should slide off without excessive pressure.
7. Finish It Up
Repeat the above steps on each nail. After achieving gel-free nails, wash your hands thoroughly to remove any acetone residue. Follow up with cuticle oil to replenish moisture and nourish your nails.
Post-Removal Care
After the process, your nails may feel delicate. It’s imperative to refrain from applying new products immediately. Allow your nails some time to breathe and regain their strength. Hydration is key; remember to apply moisturizing cream to your hands and nails regularly.
Final Thoughts
Removing builder gel may seem daunting, but with patience and proper techniques, you can do it successfully. Approach the task with meticulous care, ensuring both the health of your nails and the quality of your home manicure experience. So, the next time you face this encounter, remember the steps outlined above and turn a potential challenge into an empowering triumph. Happy nail care!


Leave a Comment