Welding stainless steel is akin to a master painter creating a masterpiece on canvas—an intricate dance of heat, metal, and technique that results in a breathtaking fusion of material. The unique allure of stainless steel—its gleaming finish and resilience against corrosion—demands both artistry and technical prowess. With proper guidance, anyone can embark on this transformative journey. This comprehensive guide will illuminate the process, empowering you to meld stainless steel with confidence.
1. Understanding Stainless Steel: The Canvas of Choices
Before embarking on your welding quest, it’s vital to understand the different types of stainless steel and their unique properties. Stainless steel is primarily fabricated from iron, carbon, and a minimum of 10.5% chromium. It comes in various grades—304, 316, and 410 being among the most popular.
- 304 Stainless Steel: This general-purpose alloy is known for its excellent corrosion resistance and weldability. Ideal for kitchen applications, it retains a polished finish.
- 316 Stainless Steel: Often revered as marine-grade steel, this alloy boasts superior resistance to chlorides and is perfect for coastal applications.
- 410 Stainless Steel: This type offers good wear resistance but is less corrosion-resistant than the 300 series. It’s often used in cutlery and tools.
2. The Right Tools: Equipping the Artisan
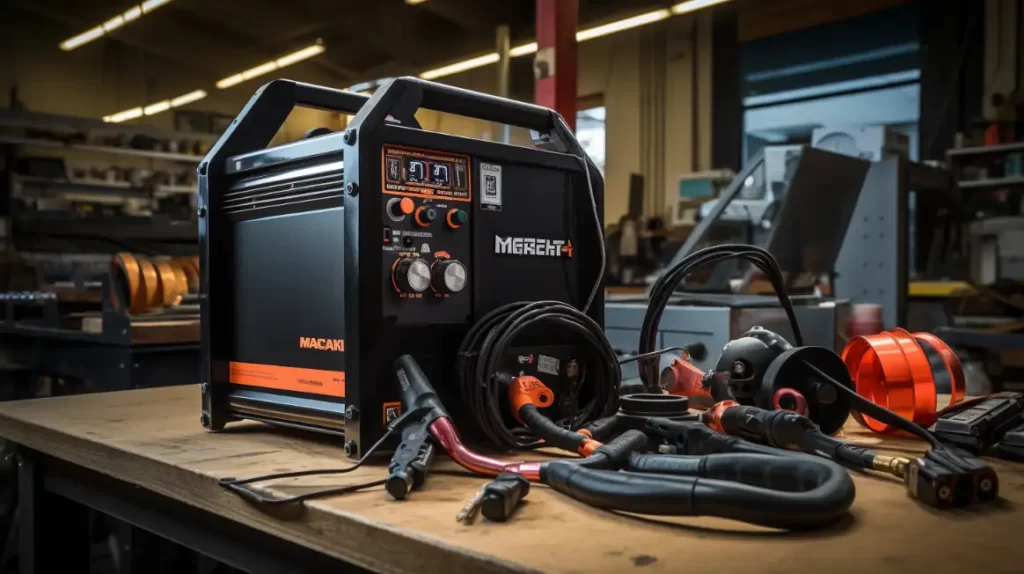
Every artist requires the right tools to translate creativity into reality. In the world of welding, this means investing in high-quality equipment. Consider the following essentials:
- Welding Machine: A suitable MIG (Metal Inert Gas) or TIG (Tungsten Inert Gas) welder is crucial. For stainless steel, a TIG welder is often preferred due to its precision.
- Electrodes and Filler Rods: Using the appropriate filler material, such as ER308L for 304 stainless steel and ER316L for 316, will ensure a seamless blend.
- Welding Helmet and Safety Gear: Protecting your eyes and skin from harmful UV rays and sparks is paramount. Invest in gloves and an apron made from flame-resistant material as well.
3. Preparing the Steel: The Art of Pre-Weld Preparation
Just as a painter must prepare their canvas, preparing your stainless steel is crucial for a strong weld. Before you begin, ensure that the surfaces are clean—remove any contaminants such as grease, paint, or rust. Techniques may include:
- Mechanical Cleaning: Use a wire brush or grinding tool to remove surface impurities.
- Chemical Cleaning: A solution of acetone or specialized stainless steel cleaner can effectively prepare surfaces that require a finer touch.
After cleaning, align the workpieces as desired, employing clamps to secure everything in its place. Misalignment at this stage can lead to compromised structural integrity down the line.
4. Setting Up the Workspace: The Sculptor’s Domain
Your workspace plays a pivotal role in the welding process. Choose an area that is well-ventilated, away from flammable materials, and equipped with proper power supply for your welding machine. A sturdy workbench, preferably made from non-combustible materials, will provide a stable platform to execute your technique.
5. The Welding Techniques: The Melting Point of Creativity
There are primary welding techniques employed for stainless steel, significantly influencing the outcome of your work. The two most prominent methods include:
- TIG Welding: This technique utilizes a non-consumable tungsten electrode to produce the weld. It offers superior control, making it ideal for thin materials. An inert gas feed shields the weld pool from oxidation, resulting in a clean and precise finish.
- MIG Welding: Involving a continuous feed of wire, MIG welding is suitable for thicker stainless steels and is often easier for beginners to master. It’s faster than TIG welding but may require additional care to avoid spatter.
Regardless of the chosen method, ensure the welding settings—voltage, amperage, and travel speed—are calibrated accurately to your material’s thickness, allowing for smooth transitions and optimal fusion.
6. Post-Welding Considerations: The Finishing Touch
Once the welding is complete, the final steps will determine the project’s aesthetic and structural integrity. Begin with:
- Cleaning the Welds: Use a wire brush or grinder to remove any slag or discoloration caused by the welding process.
- Passivation: This chemical treatment restores corrosion resistance by removing free iron from the weld surface, enhancing durability.
- Inspection: A visual examination, alongside thorough testing, ensures that the welds are sound and meets applicable standards.
In this artistic endeavor, even the slightest imperfections can detract from the overall beauty of the work.
Conclusion: The Gateway to Endless Possibilities
Welding stainless steel opens a gateway to endless possibilities. It is more than a technical skill; it is a form of expression that melds creativity with precision. As you wield your tools and navigate the nuances of this craft, you create not just a product, but a lasting legacy. With practice, patience, and an appreciation for the material, the art of welding stainless steel can transform the mundane into the extraordinary. So, step forth and embrace this metallic medium, crafting enduring pieces that stand resilient against the tests of time.


Leave a Comment