Imagine your backyard transformed into a serene oasis, with the sun casting glimmers upon the crystalline water of your vinyl pool. For many, this idyllic scene represents tranquil summer days spent splashing with loved ones and soaking in the sun. However, like any masterpiece, even this sanctuary requires maintenance and, at times, repair. This is where the vinyl pool repair kit steps in as a beacon of hope, akin to a lifeline thrown into turbulent waters.
Typical wear and tear can lead to the emergence of tears, holes, or discolored vinyl, disrupting your aquatic paradise. To ensure your pool remains a refuge of relaxation, understanding the benefits, components, and techniques associated with using a vinyl pool repair kit can be enlightening.
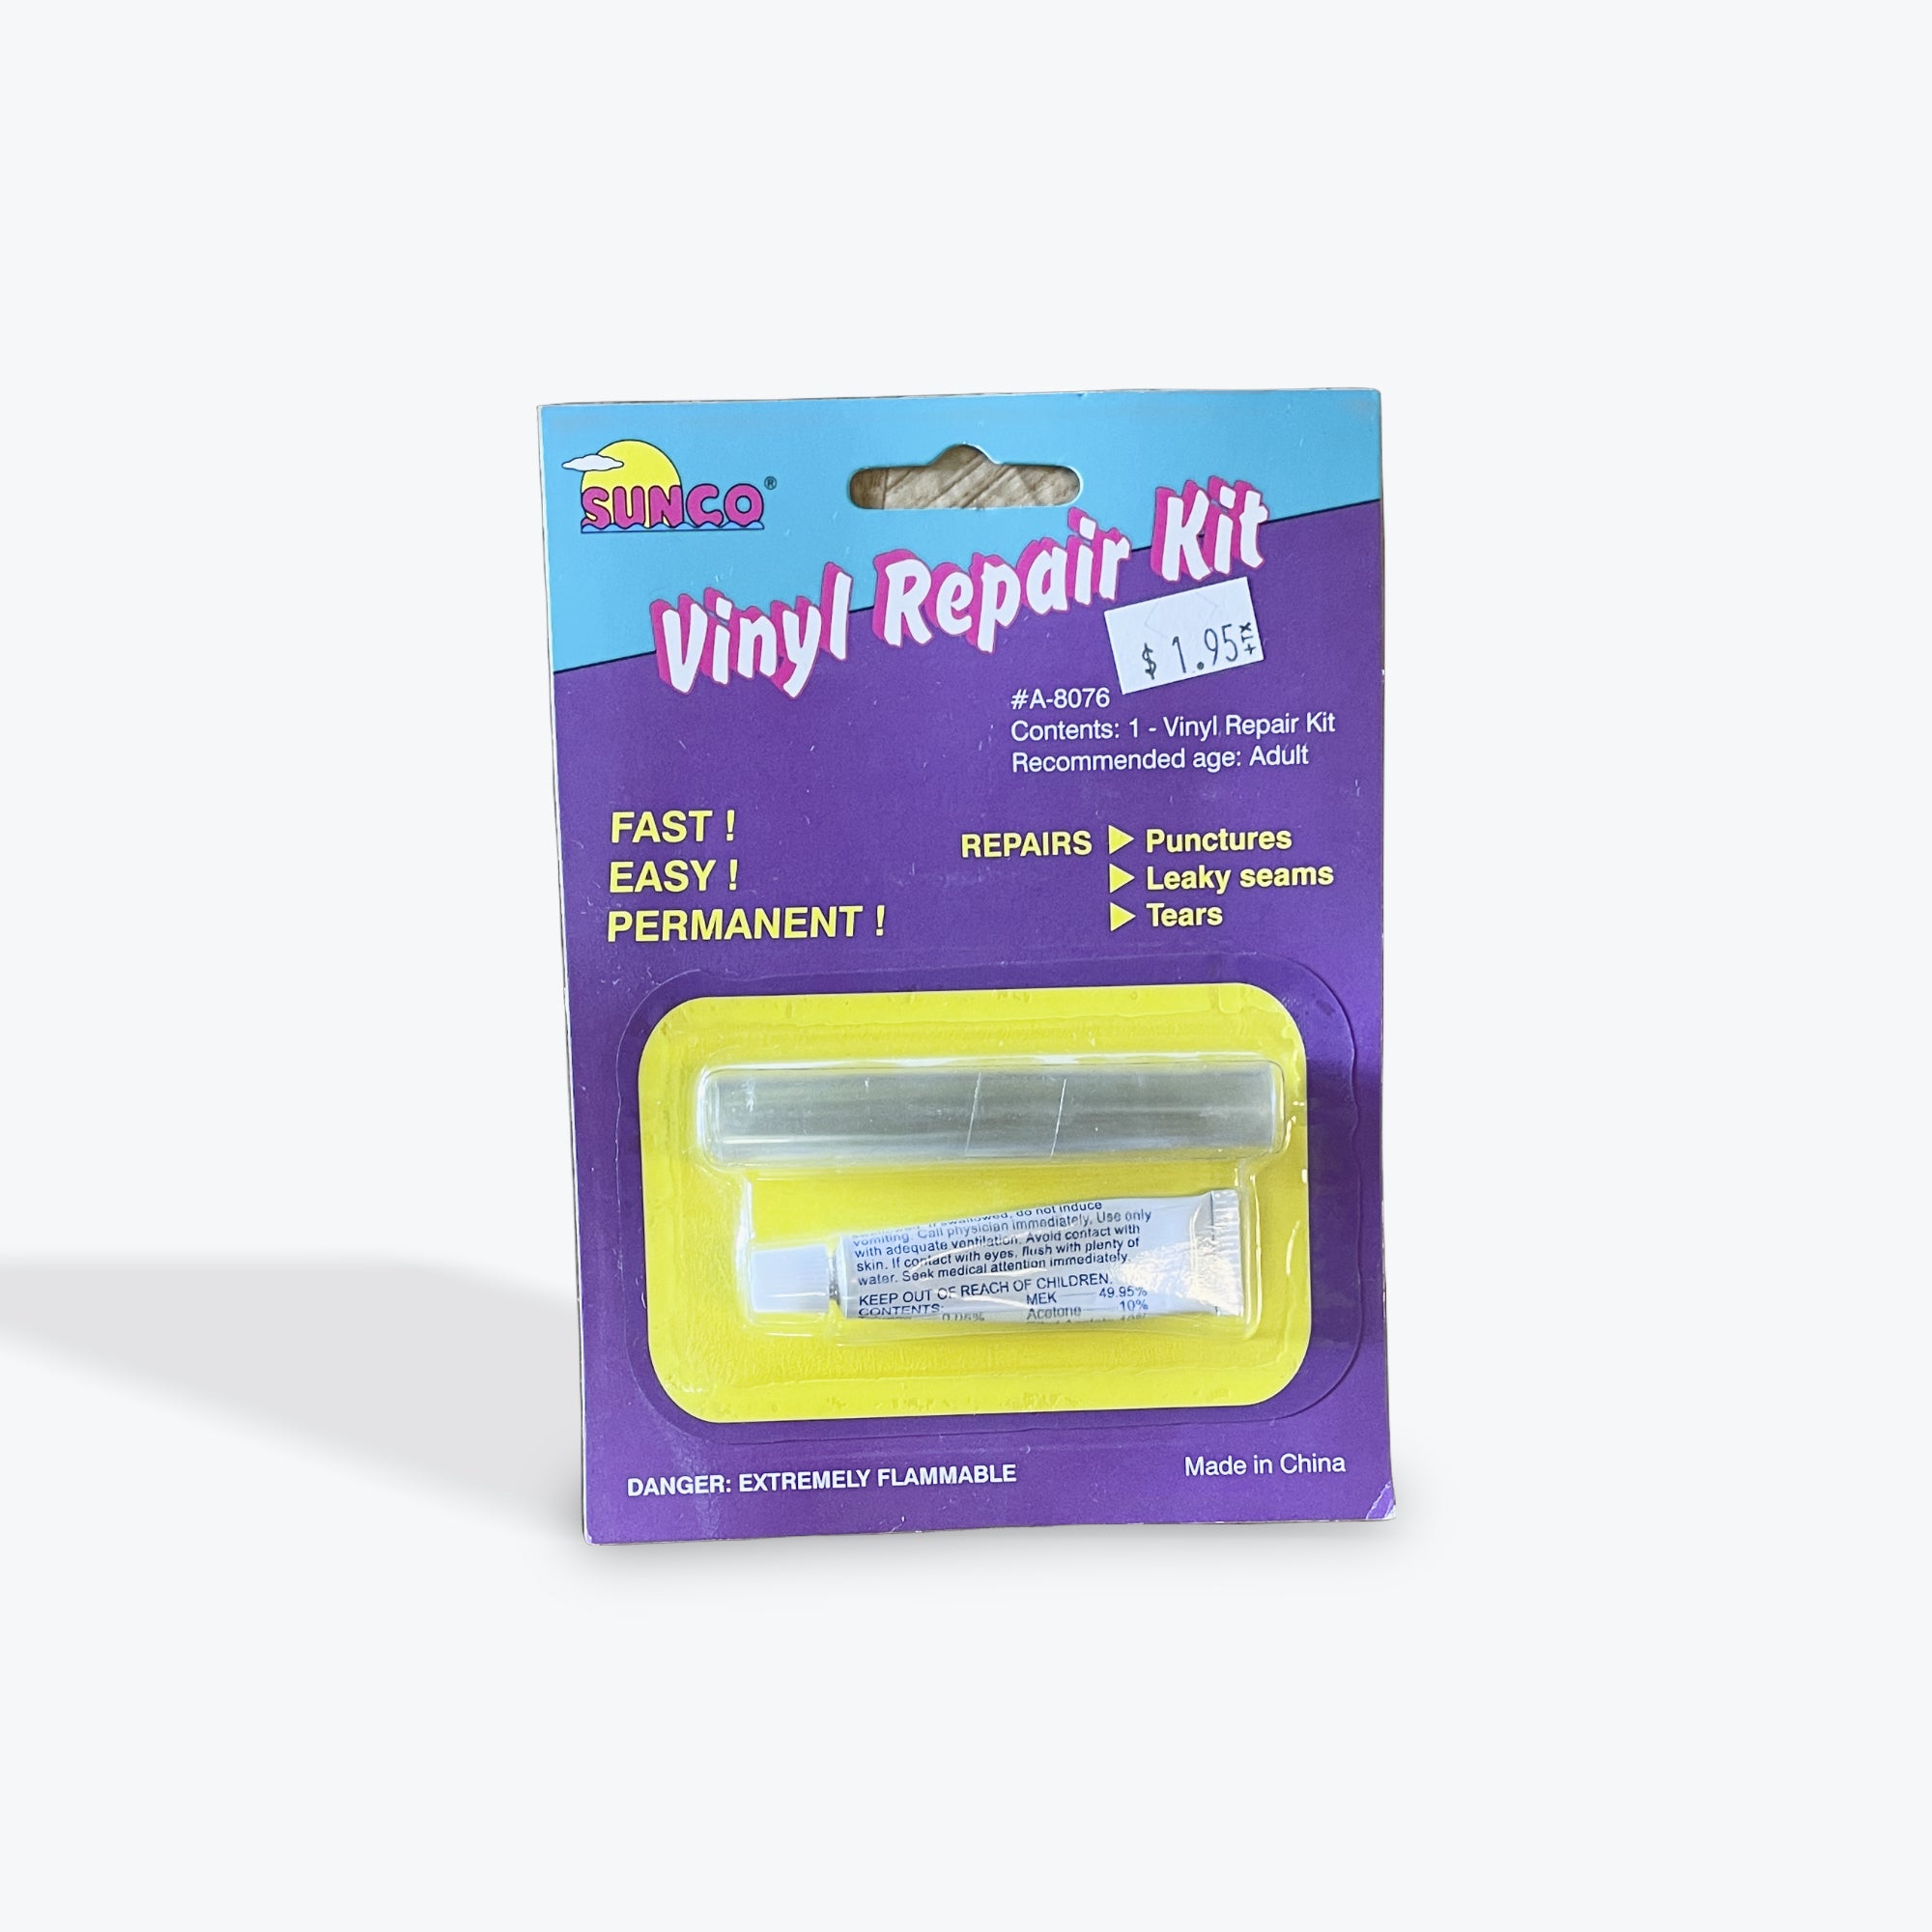
1. The Anatomy of a Vinyl Pool Repair Kit
A vinyl pool repair kit is a collection of specialized tools and materials designed to mend the fabric of your pool. At first glance, it may seem humble—a compact package of various patches and adhesives—but its potential is immense. Within its confines, you will typically find:
- Patches: These adhesive patches come in various sizes and colors to match the hues of your pool liner, ensuring a seamless repair.
- Adhesive: Often a strong, waterproof epoxy or vinyl cement, this adhesive acts as the glue that binds the patch to the pool surface, creating a watertight seal.
- Preparation Materials: Items such as sandpaper or cleaning agents are included to prime the damaged area, ensuring optimal adhesion.
- Application Tools: Many kits feature rollers or brushes for spreading adhesive evenly over the patch and the damaged area.
- Instructions: A comprehensive guide detailing each step required for a successful repair, often enhancing the DIY experience.
2. Reasons to Keep a Vinyl Pool Repair Kit Handy
In the realm of pool ownership, unforeseen issues can arise as quickly as a summer storm. The importance of having a vinyl pool repair kit at your disposal cannot be overstated. Here are several compelling reasons:
- Cost-Effectiveness: Swift repairs prevent more significant damage, which can lead to extensive, costly renovations. Investing in a kit now can save thousands later.
- User-Friendly: Most kits are designed for the everyday homeowner. With a bit of patience and a dash of elbow grease, repairs can often be executed in under an hour.
- Versatility: Beyond just pools, these kits are useful for addressing issues with vinyl furniture, boats, or tarps—making them a worthwhile addition to your home toolkit.
- Peace of Mind: Having the means to address problems as they arise allows for uninterrupted enjoyment of your aquatic oasis.
3. Common Types of Damage and Their Solutions
When a vinyl pool is compromised, damage typically manifests in several forms. Understanding what you’re up against is essential in applying the right fix:
- Small Tears: An innocuous rip may seem trivial but can lead to larger leaks. A straightforward patch application is often sufficient to restore integrity.
- Holes: Holes caused by sharp objects or prolonged wear can be more challenging. However, patches available in most kits can effectively seal these breaches when properly applied.
- Discoloration: Fading vinyl due to sunlight exposure can diminish your pool’s aesthetic. While kits primarily focus on physical repairs, some include color restoration solutions to rejuvenate the surface.
- Seams and Joints: The points where two sheets of vinyl meet can be vulnerable. A repair kit often provides specific patches for these areas to ensure they remain watertight.
4. The Art of Applying a Vinyl Pool Repair Kit
Executing a repair correctly is akin to performing a delicate surgery on your cherished pool. Here’s a step-by-step guide to achieve a flawless repair:
- Identify and Assess: Locate the damage and assess its extent. Dry the area completely before proceeding to ensure effective adhesion.
- Prep the Area: Use fine-grit sandpaper to roughen the surrounding vinyl, providing a strong grip for the adhesive.
- Cut to Size: Trim the patch to fit the damage, ensuring it extends beyond the edges of the tear or hole for a secure seal.
- Apply Adhesive: Generously apply the adhesive to both the patch and the damaged area. A thick layer is crucial for a watertight bond.
- Press and Seal: Firmly press the patch onto the vinyl surface, using a roller to eliminate air bubbles and ensure full contact.
- Allow to Cure: Adhere to the recommended curing time outlined in the kit’s instructions. Patience here is as vital as the application itself.
5. Maintaining Your Pool Post-Repair
After navigating the waters of repair, it’s crucial to cherish your pool’s newly restored state. Regular maintenance, including routine inspections, will help catch potential problems early. This vigilance ensures your pool remains a cherished part of your home, exuding beauty and functionality.
In conclusion, a vinyl pool repair kit serves as both a guardian and a savior of your aquatic sanctuary. By understanding its components, the repairs it can undertake, and the art of application, you can preserve your pool as a symbol of relaxation and joy for years to come. Arm your toolkit with this versatile companion, and continue to revel in the idyllic waters of your private escape.


Leave a Comment