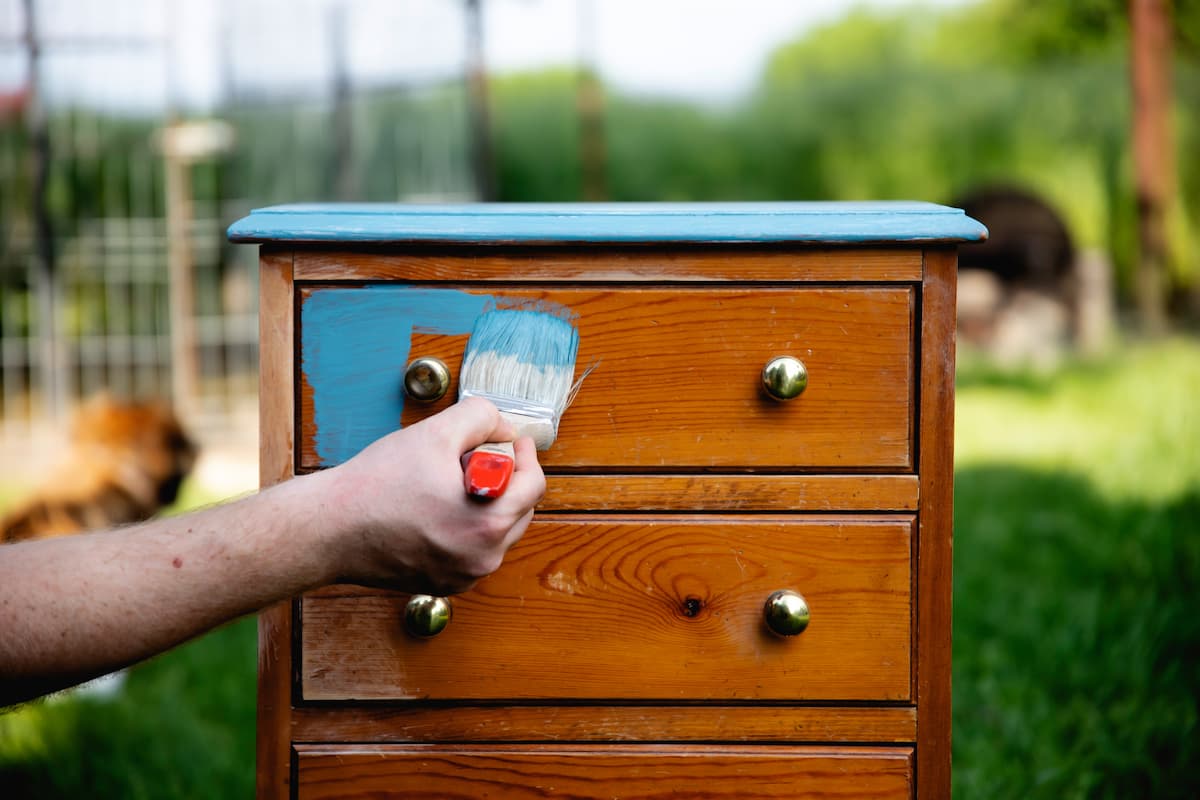
Painting over stained wood can be a transformative endeavor, giving aged surfaces a fresh and contemporary look. Whether it’s furniture, molding, or cabinetry, revamping stained wood requires not only an aesthetic vision but a methodical approach. This guide will delineate the essential steps, considerations, and techniques involved in successfully painting over stained wood.
Understanding the nuances of wood staining is pivotal. Stains penetrate deep into the wood fibers, enhancing the natural grain while introducing pigments that can alter the surface’s character. Therefore, when one contemplates painting over stained wood, it’s imperative to appreciate the underlying layers that may affect the final outcome.
Before initiating your painting project, gather the necessary tools and materials. You will require:
- High-quality primer
- Sandpaper (various grits)
- Clean rags
- Paint (latex or oil-based)
- Paining tools (brushes, rollers, or spray gun)
- Protective gear (gloves, mask)
- Drop cloths
With your materials at the ready, the first step is to prepare the wood surface. This preparation is crucial and often a determining factor for the success of your paint job. Begin by cleaning the wood thoroughly to remove dust, grease, and any residues that might have accumulated over time. A mixture of mild detergent and water can be effective for this task. Rinse thoroughly and allow the surface to dry completely.
Next, it is imperative to address the existing stain on the wood. The best practice here is to sand the surface. Use coarse sandpaper (80-120 grit) initially to tackle the stained areas, paying particular attention to any areas of heavy staining. This will aid in abrading the glossy surface and allow better adhesion for the primer. Follow up with finer sandpaper (220 grit) to smooth out the surface, ensuring a seamless transition for the new paint.
Once sanding is completed, vacate the dust particles with a clean rag or tack cloth. This action is vital, as any lingering dust can disrupt the adherence of primer and paint.
Applying a primer is an indispensable step when painting over stained wood. A high-quality primer will not only provide a uniform base but also help block any potential bleed-through from the stain. Consider using a primer specifically designed for wood or those labeled as stain-blocking to ensure maximum efficacy. Apply the primer uniformly using a brush or roller, and allow it to dry completely according to the manufacturer’s instructions.
After the primer has dried, assess the surface. If imperfections or rough spots remain, a light sanding with fine-grit sandpaper is advisable. A quick wipe-down should follow to remove any dust from sanding.
Now, move on to the painting phase. Choose a paint that suits your project; latex paints are preferable for interior projects due to their ease of cleanup, while oil-based paints offer durability and a robust finish appropriate for high-traffic areas. Apply your chosen paint using long, even strokes to avoid streaks, and ensure an appropriate coat weight. Depending on the color and type of paint, more than one coat may be necessary; allow adequate drying time between applications to achieve an even finish.
For those who are working on furniture or items that receive heavy use, consider a topcoat. A clear polyurethane or a protective finish can add an additional layer of durability, preventing chipping and enhancing the gloss of the paint. Ensure the paint is fully cured before applying any topcaot, as this ensures the longevity of your work.
Decorative techniques can also elevate the final appearance of your newly painted wood. For a modern style, consider employing a distressed look by lightly sanding high-use areas after the paint has dried, which reveals glimpses of the previous stained wood beneath. Alternatively, if looking for depth, try glazing or antiquing techniques to introduce complexity and character.
Throughout the process, patience is key. Rushing through any of these steps can lead to lackluster results, such as peeling, bubbling, or smudging. Always ensure that each layer—be it primer, paint, or topcoat—is fully dry before advancing to the next stage.
In conclusion, painting over stained wood is a gratifying venture that revives and rejuvenates weary surfaces. With careful preparation, the appropriate materials, and an eye for detail, you can achieve an exquisite finish that transforms your living space. The metamorphosis of dated stained wood into an updated piece can enhance both aesthetic appeal and functionality, breathing new life into your environment. Whether you embark on this undertaking as a DIY project or enlist the help of professionals, the results can be striking and satisfying.








Leave a Comment