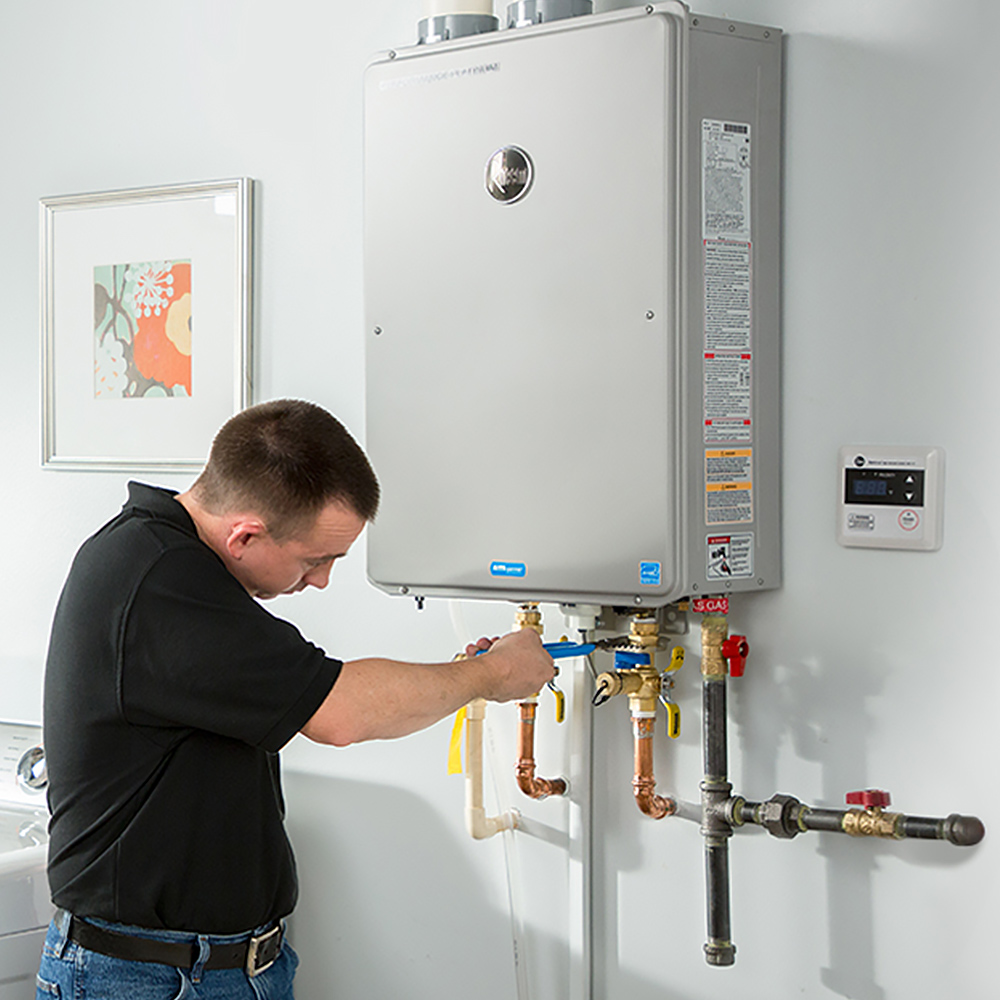
Are you tired of running out of hot water just when you need it most? Do you long for an endless supply of warm, soothing water for your soothing shower or invigorating bath? If you answered yes to either of those queries, then it’s likely time to consider installing a tankless water heater. While the thought of diving into a home improvement project can be exhilarating, the prospect may also evoke a sense of trepidation. After all, water heaters are a critical component of modern living, and making the wrong decision could spell disaster. Fear not! This comprehensive guide will lead you through the steps to successfully install a tankless water heater, ensuring you can bask in a cascade of warmth and comfort with confidence.
Understanding the Basics
Before embarking on this journey, it’s important to demystify the workings of a tankless water heater. Unlike conventional water heaters that store hot water in a tank, tankless models heat water on demand, enabling users to enjoy a continuous flow. These energy-efficient units can save you money, reduce your carbon footprint, and optimize space in your home. However, it’s essential to ensure that your chosen model meets your household’s hot water demands.
Step 1: Assess Your Hot Water Needs and Requirements
Begin by evaluating your household’s hot water usage patterns. Consider factors such as the number of occupants, frequency of showers, laundry loads, and dishwashing routines. You’ll want to calculate the peak demand to determine the appropriate capacity of the tankless water heater. This step is crucial in avoiding potential overworking of the unit and ensuring that it meets your needs effortlessly.
Step 2: Choose the Right Location
Once you have a grasp of your hot water needs, it’s time to scout for the ideal installation location. Tankless water heaters can be placed indoors or outdoors but consider that indoor units require proper ventilation. Choose a location that is easily accessible for maintenance purposes and close to water, gas, and electrical connections. Remember, the shorter the distance to plumbing, the more efficient your system will be.
Step 3: Gather Your Tools and Materials
Before diving into the installation, organize your toolkit. Essential tools may include a drill, wrench, pipe cutters, screwdrivers, and a level. You’ll also need materials such as copper or PVC piping, connectors, fittings, and, of course, the tankless water heater itself. Ensure that you purchase a unit that meets the necessary local building codes and regulations.
Step 4: Shut Off Utilities
Safety first! Before beginning any installation, turn off the gas supply and the main water supply to your home. If you have an existing water heater, disconnect it and remove it by following the manufacturer’s guidelines meticulously. Be cautious as hot water may still be trapped in the pipes.
Step 5: Installation of Water and Gas Line Connections
Next, it’s time to connect the water lines to your new tankless water heater. Start with the cold water line, ensuring that you use the right fittings to prevent leaks. If your unit operates on gas, attach the gas line carefully, using Teflon tape for added security. For electric models, follow specific guidelines concerning electrical connections, ensuring that they comply with local standards.
Step 6: Ventilation Setup (if necessary)
For gas-powered units, proper ventilation is key to ensure safety and efficiency. Install a venting system that provides a clear pathway for exhaust gases to escape. This may involve running vent pipes through walls and roofs, depending on your unit design and home structure. Always refer to the manufacturer’s installation guide to ensure compliance with local codes.
Step 7: Connect the Unit
Now comes the moment of truth: securely mount the tankless water heater to the wall using the bracket provided. Double-check that all connections are tight and that the unit is level. Tuck away any loose wiring and ensure that there are no potential hazards present.
Step 8: Perform a Water Test
Restore your water supply, but keep the gas or electrical supply off for now. Turn on the faucets connected to the tankless heater to purge air from the lines. Check for any leaks around fittings, and make sure everything is functioning smoothly before proceeding.
Step 9: Power Up!
Once you have confirmed that there are no leaks, it’s time to power up your tankless water heater. If it’s a gas model, turn on the gas supply and ignite the unit. For electric models, follow the necessary steps to restore power. Monitor the performance closely over the next few days to ensure that it meets your expectations and adjust settings as needed.
Step 10: Regular Maintenance
Congratulations! You’ve successfully installed your tankless water heater, but your work isn’t quite finished. Regular maintenance is vital to keep your system in optimal shape. Schedule routine descaling to remove mineral buildup, ensure proper ventilation, and check connections regularly to avoid potential issues. By doing so, you can enjoy a consistent supply of hot water for years to come.
The Endless Flow Awaits
Installing a tankless water heater is a rewarding endeavor, one that extends beyond mere convenience; it offers sustainability and efficiency in the long run. While the task may seem daunting at first, following this comprehensive guide will demystify the process, making it manageable. Now that you’re equipped with the necessary knowledge, ask yourself: Are you ready to embark on this transformative journey to constant hot water comfort?






Leave a Comment